Enjoy 20% off + a Free Pattern!
Aren't freebies the best?! Sign-up for my email list and I'll send a coupon for 20% off one order AND a free quilt block pattern right to your inbox.
(You can unsubscribe anytime.)
Plus, you'll be the first to know about new products, quilting tutorials, and exclusive discounts like
25% off the Pattern & Bundle of the Month
January 02, 2014
I'm so excited to share Paperless Paper Piecing with you! I almost don't know where to start. ;)
My mom, Sharon Schamber, developed the Paperless Paper Piecing technique more than 10 years ago. It is a simple technique, that allows you to "paper-piece" with precision, limitless possibilities, and no paper to tear out in the end. Once you wrap your mind around the technique, you'll discover the ease with which you can create, using Paperless Paper Piecing. If you've seen my tutorial on Piec-lique Circles, you're one step toward understanding Paperless Paper Piecing (PPP). Piec-lique and PPP are actually the same technique. Piec-lique is specific for curved seams, whereas PPP is specific to straight seams.
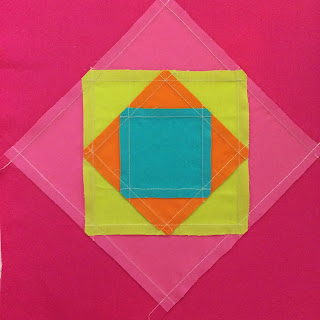
The Square in a Square block has been around forever. It's also know as an Economy Block. There are many ways to sew one together, including paper piecing and traditional piecing. Paperless Paper Piecing gives you another option. I hope that learning Paperless Paper Piecing, on a well-known and simple block, will help you discover what the technique is all about, and how you can use it with other blocks. Paperless Paper Piecing opens up many possibilities. Any paper pieceing pattern can be converted to Paperless Paper Piecing. I hope that you give it a try.
Paperless Paper Piecing designs are constructed upside down. We'll be layering each piece, in the reverse order that the pieces will be sewn. In paper piecing, we start at the beginning, and work out. With PPP, we start at the end, and work inward. This can be done because we are layering and glue basting, as we go. Sewing will be done once the entire block is assembled. Sewing is done in the same order as you would, if you were paper piecing. The best parts about PPP is that the block is already assembled, there's no shifting or having to go back and forth from the front to the back (like with paper piecing), and best of all: NO papers to pull out at the end! Woohoo!!!
This tutorial is meant as an introdution to PPP. There are so many possibilities, beyond what I'll show you here. If you're interested in learning more advanced ways for using PPP and Piec-lique, you can find many books, patterns and tutorials in my store.
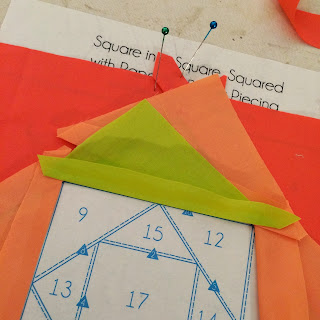
Brenda, from Pink Castle Fabrics, and Katy from I'm a Ginger Monkey, have started the Economy Block Along, which is motivating many of us quilters to create with what's already in our stashes. The Economy Block Along is getting really popular on Instagram. Search the hashtag #economyblockalong for inspring ideas and color combinations.
Let's get started!!
First, you'll need to download the template for the Square in a Square, Squared PPP block. Click on the pic below to download. For printing, please make sure it's scaled at 100%. The printed block should measure 8". We will have an unfinished 8.5" block, when completed.
Two copies of the template need to be printed onto freezer paper. You can cut the freezer paper, to 8.5"x11", and print onto its paper side. Ink jet printers provide the best results. We'll be pressing the freezer paper, with our irons, and ink from laser printers tend to smear when ironing.
Let's take a closer look at the template. The block should measure 8". You'll notice several different symbols and numbers on the template.
Supplies:
Disclaimer: This tutorial is VERY picture heavy. When I'm showing something that might be brand new to you, I like to take pictures at each and every little step. It doesn't mean that this will take you forever to make (promise). I want you to have the best pictures that I can give you, for reference at each little step.
Step 1: Preparing the Templates
One of your printed templates will be your layout template. I prefer to iron mine to my pressing board, to keep it secure while I'm assembling my block, which is the reason for printing it onto freezer paper.
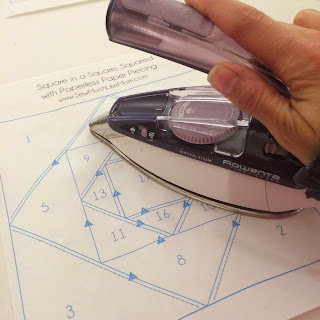
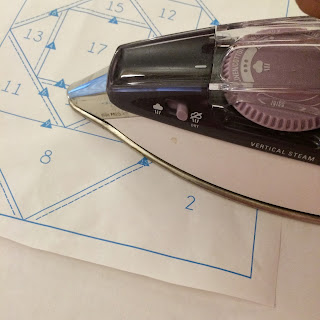
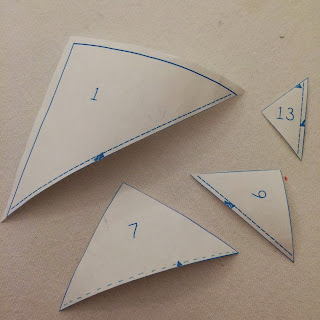
The second printed template will be cut apart, and used to turn the edges of your pieces. Iron this template to the top of another piece of freezer paper, shiny sides down. Apply a good amount of pressure to make sure that the two layers adhere completely, and without bubbles in between the layers.
Step 2: It's Fabric Time!
For Paperless Paper Piecing, your fabric pieces do not need to be cut accurately (yay!). A rough cut, is more than adequate. I prefer to rough cut multiple pieces at a time, leaving a finger width (3/8" ish) all the way around. I just use my scissors for cutting. This excess seam allowance will be tool for you, when you're sewing. After sewing, you'll trim it off, to a nice and neat 1/4".
Step 3: Starching the Seam Allowance
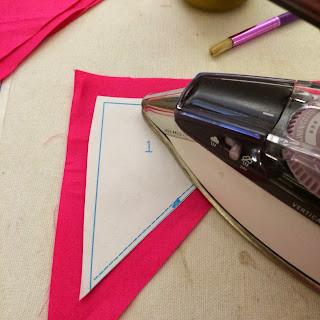
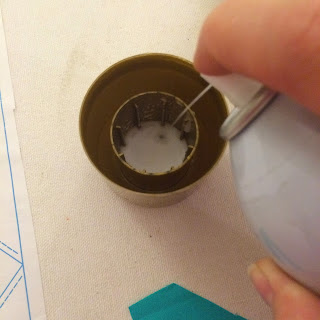
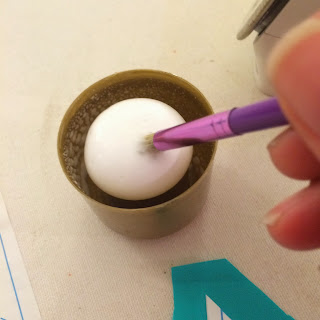
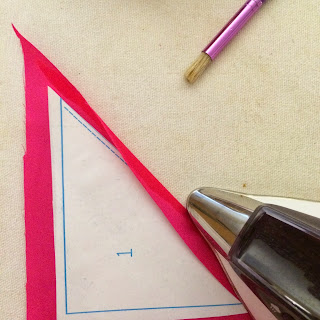
Paint a light line of starch along the seam allowance, just next to the edge of your template. Be careful not to soak the edge of your template. Wet paper is hard to work with.
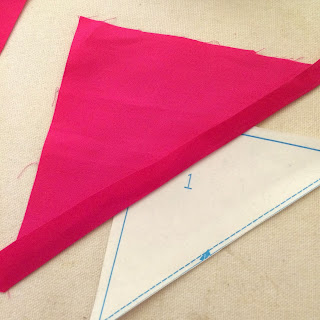
While the freezer paper template is still warm, remove it from the fabric. Repeat for each triangle.
Step 4: Layering on the Layout Template
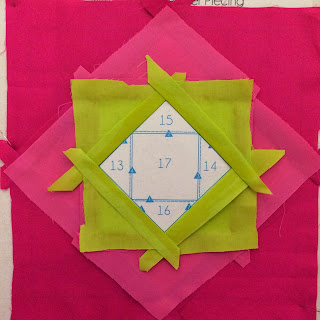
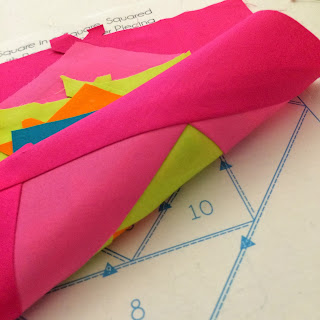
Beginning with fabric piece #1, line the turned edge along the corresponding edge on the layout template. Use a couple of pins to anchor it in place. Remember, we're working from the backside of the block, here.
Repeat the same process for pieces 9-12.
I love a nice intersecting point, don't you?
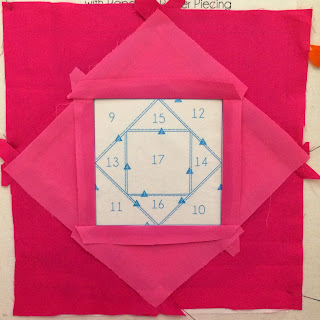
Oh yeah!! We're almost there!!
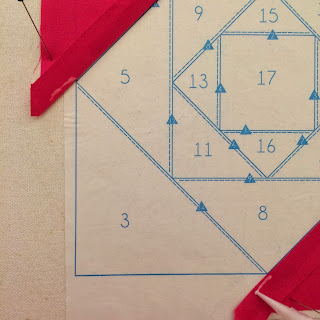
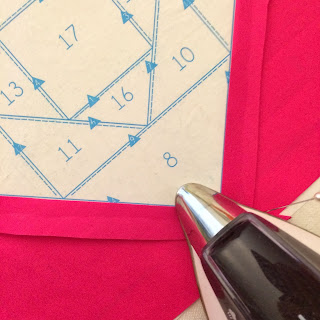
When placing your pieces, you can ensure accuracy by double checking that the edge of turned seam is letting that blue line peek out. If it's up too high, your point will be cut off. Down loo low, and your point will be, well, down too low.
Lay your square down, and heat-set. Make sure that you're placing it right-side down, if you're using prints.
TA-DA!!!!! How'd you do?? I'm sure your block looks amazing!!
That wasn't so hard, right? Now, you have a completely stable, and secure block, all ready for some stitching.
Oh wait. I really don't like the dark turquoise that I picked for the center. Darn it.
Guess what?! Because it's just glue basted, I can easily peel it off, and place a new color in its place.
Oh yes. Much much better.
Another thing I love about PPP, is that I can sew this entire block, at one time.
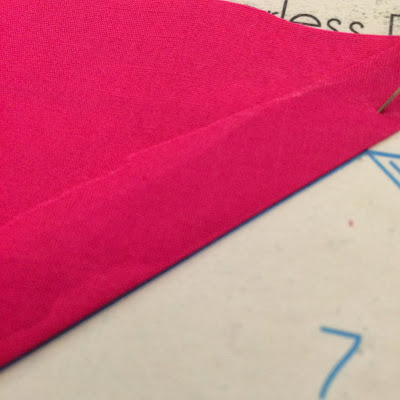
See the crease, there? We made that nice sharp crease when we starched, and pressed over the edge of the seam allowance. That is now your sewing line. No need to try to calculate a perfect scant 1/4" seam! Isn't this wonderful?!
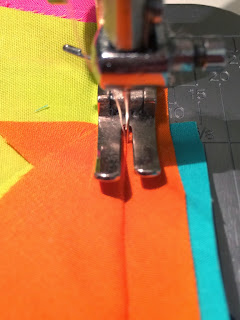
Place the first seam under the foot of your machine, and drop your needle right onto the crease. You'll notice a little lump to the left side of the crease. This bulk is part of seams #3 and 4. Don't put your needle through this bulk. Sewing through it will cause a pinch on the front side of your block.
Sew right along the crease. There's no need to back-stitch, here, because you'll be sewing over each seam, as you continue. I sew with a 1.8 stitch length (or just shy of 2, on the dial of my Juki Tl-98Q).
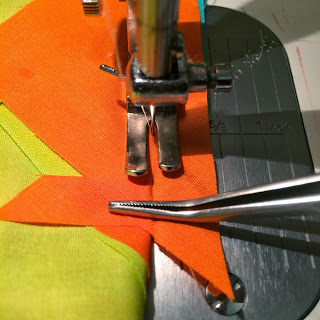
You can hold onto the edge of the extra seam allowance, to help guide the seam, as you sew. If your allowance is too narrow, or your fingers are tired, a pair of angled tweezers works wonderfully.
If the seam isn't laying flat, angled tweezers can be very helpful for flattening it out.
After sewing seam #1, trim it down to a nice and tidy 1/4". You can use scissors or your rotary mat, ruler and cutter. I prefer to trim at my sewing machine, so I generally just use my scissors. Repeat for seam #2.
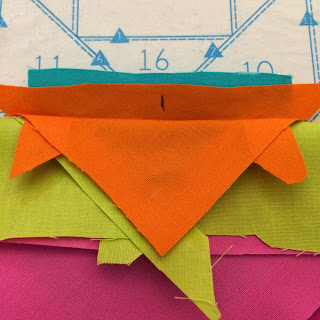
This is a good view of seam #3, and how it intersects seams 1 and 2. If you were to sew this one first, you'd sew right over the unsewn first and second seams.
Sew along seams 3 and 4, and trim.
Looking good!!
Give it a quick press with your iron, before moving on to seams 5-8.
Starting with seam #5, repeat the same sewing process for the rest of the block. For best results, press the back of the block after each round of seams.
On the final seams, #'s 13-16, I do back-stitch.
Take a look at that! I'm really happy with how it turned out. I hope you're happy with yours, as well.
Step 7: True It Up!
Press the block with a light spraying of starch, and your iron. Having it nice and flat will make it much easier to true-up.
After trimming, our block should be 8.5", unfinished.
To true up your block, go from the center out, lining up the 4.25" mark on the center points, and the 1/4" mark on the point on the side. This will give you an extra quarter inch all the way around the 8" design block, giving you your 8.5" block.
Trim, and repeat on the other three sides.
All trimed up and pretty.
Very WoNky, and off-set. Lots of fun! |
Comments will be approved before showing up.
April 28, 2025
Have you been wondering about the what type of impact the new tariffs (coming May 1st) will have on your favorite quilting fabrics and supplies? There's a lot of info being thrown around and a lot of it can sound, well, scary. To give you some reassurance, let's have a chat about what I know and what you can expect from me and Purple Daisies Quilting…
December 03, 2024 1 Comment